Some hair extension wearers have a hard time finding half or full updo styles that work with their extensions. But have no fear, updos with extensions can be a breeze as long as you know what you’re doing. Hiding extensions in an updo will be much easier if you’re doing a look that gathers at the base of the neck instead of higher on the head. It’s much easier to be sure that all of your wefts are laying flat and there is hair to cover them. This tutorial is great for any client whether she has extensions or not.
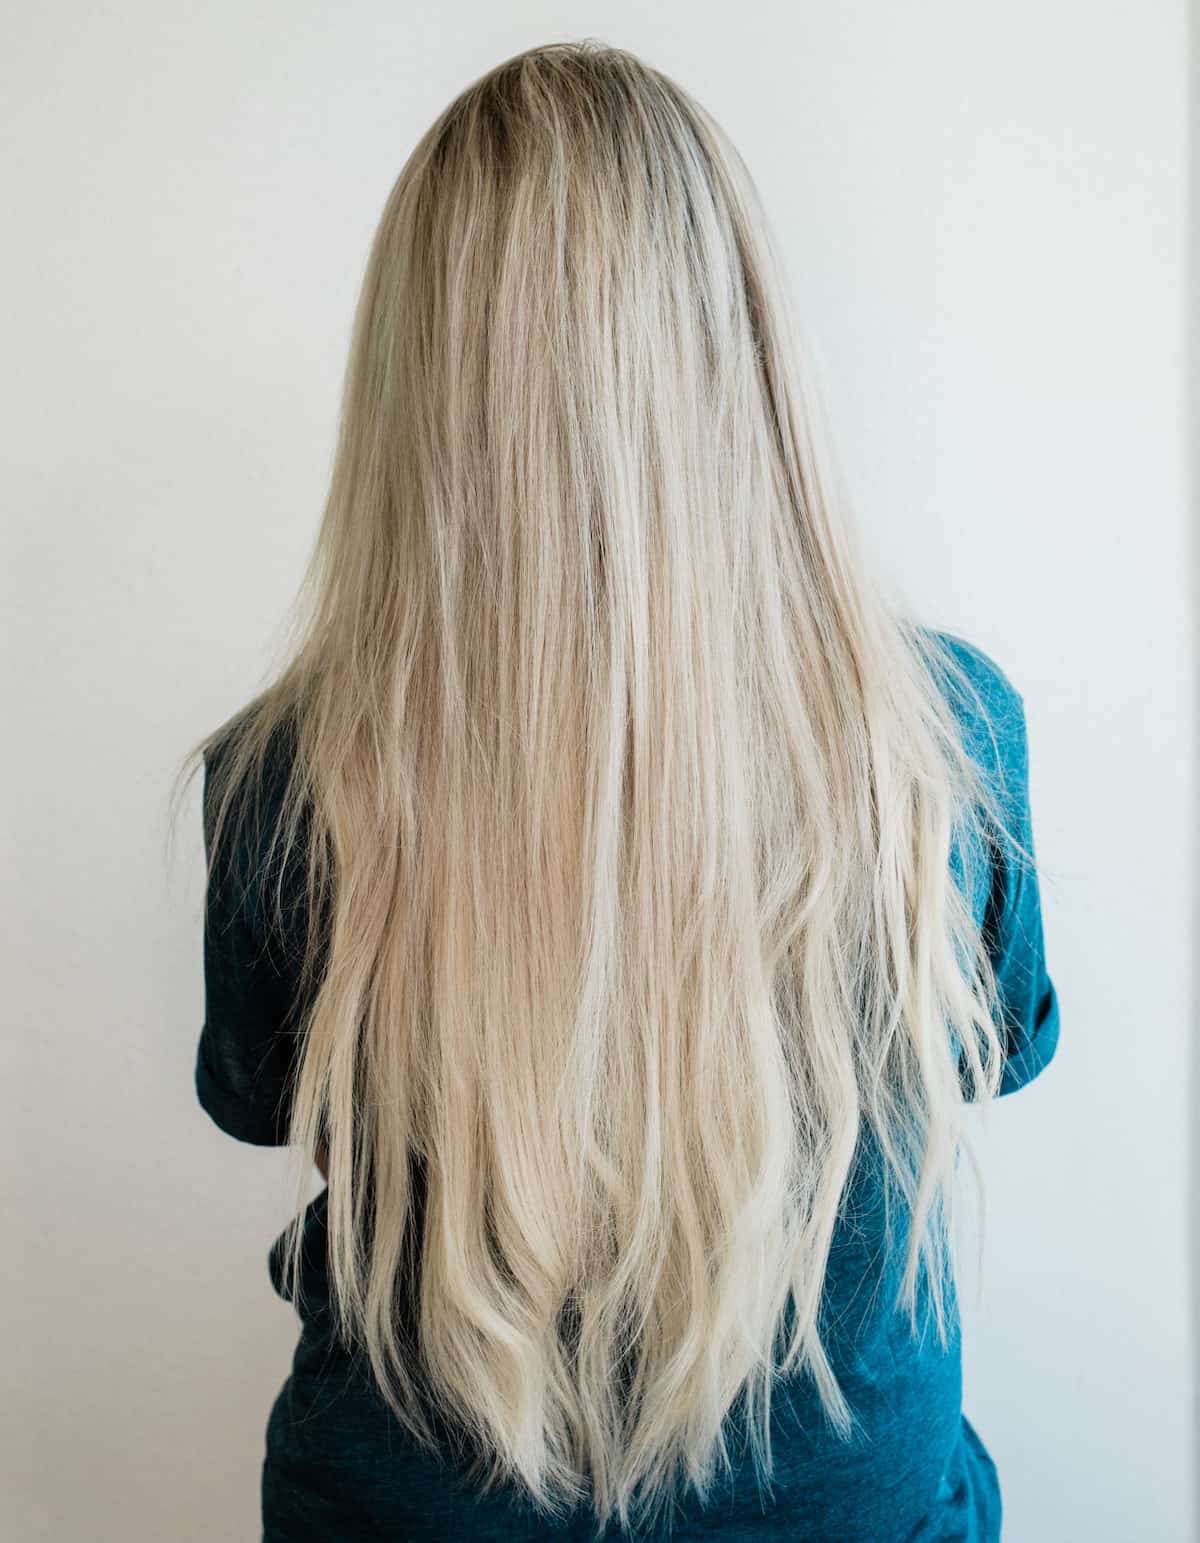
Before you begin, make sure your clients hair is free of snarls and knots. The easiest way to do this is with Hair Extension Tape’s Leave-In Conditioner. This will not only help you comb through long hair without pulling on any knots you may not see, it will also keep the hair moisturized and shiny while taming flyaways. It’s perfect to apply throughout the hair from roots to tip, all it takes is a couple of sprays and a quick comb through. For flyaways, you can spray some of the product on your hands and smooth it from the part down on all sides. Then you’re on your way and can be confident that your client won’t have to worry about frizzy hair or major flyaways throughout the day.
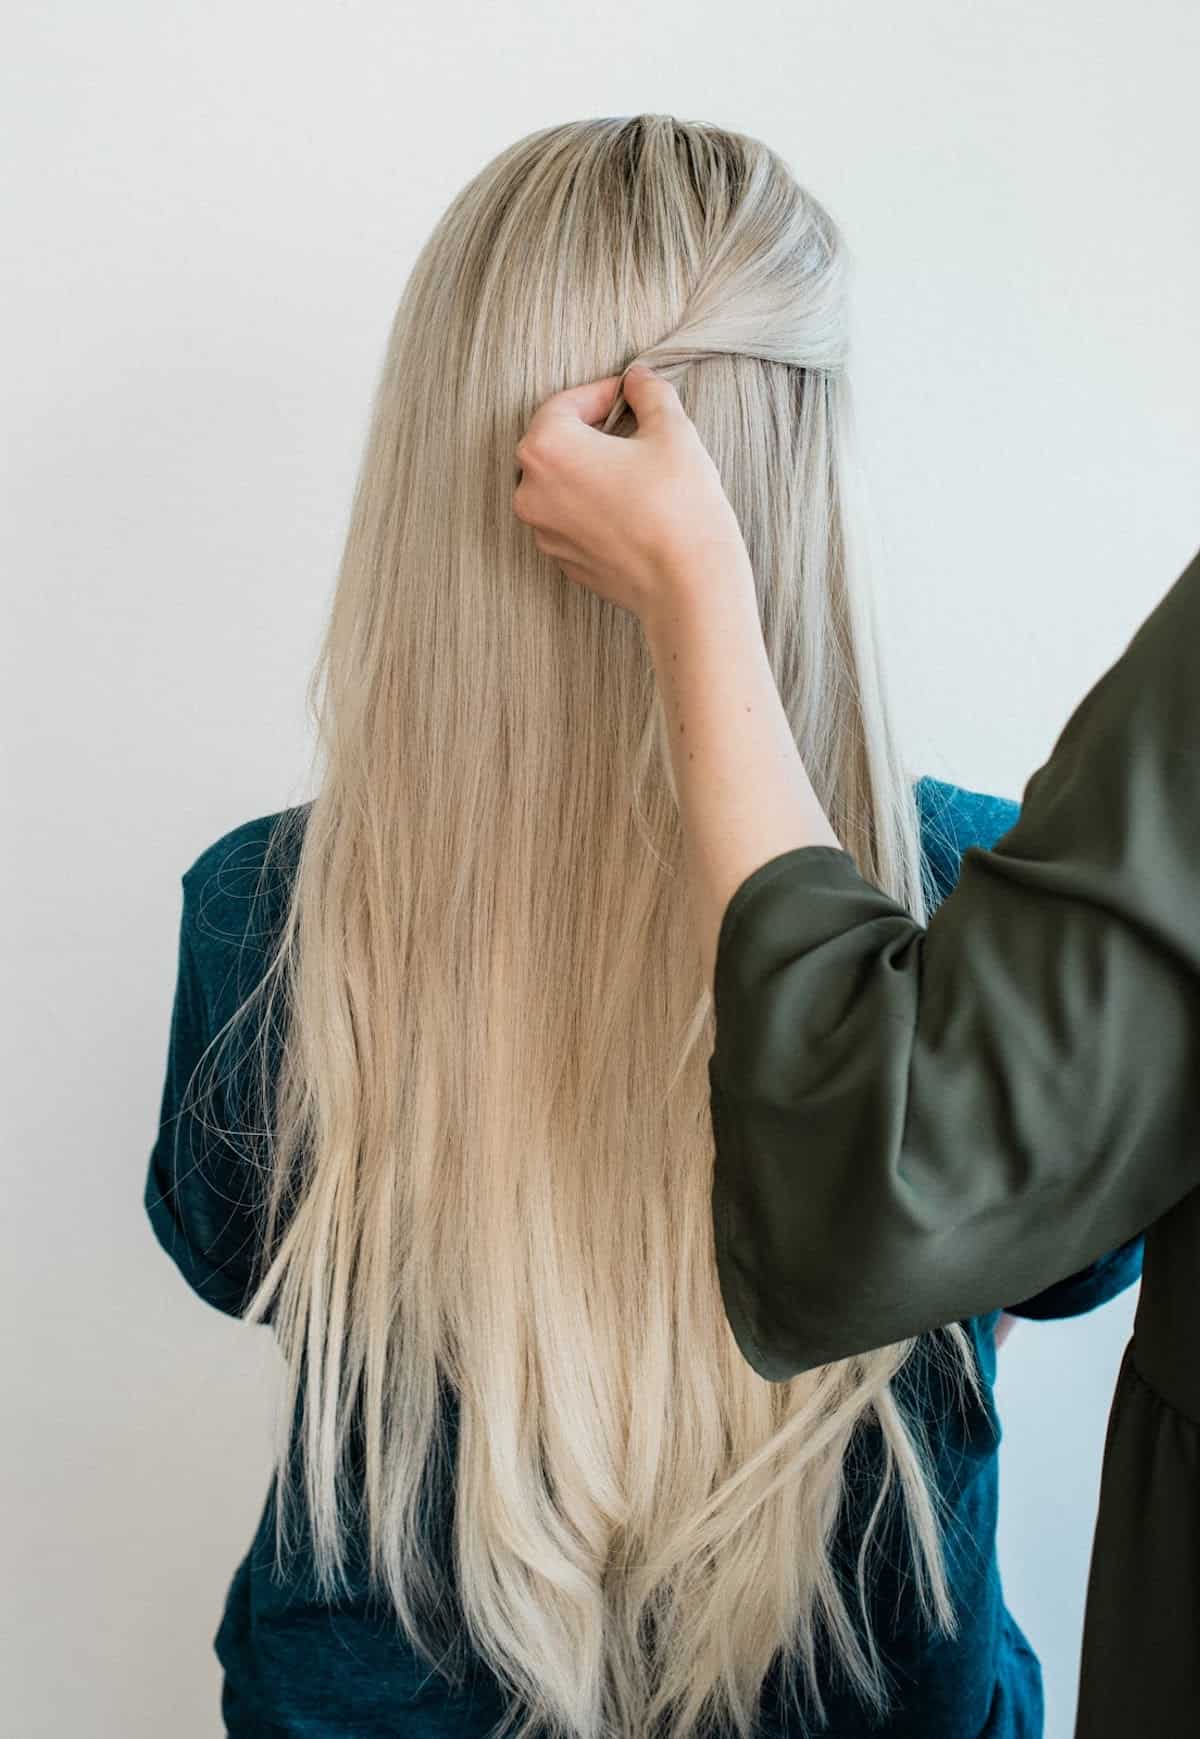
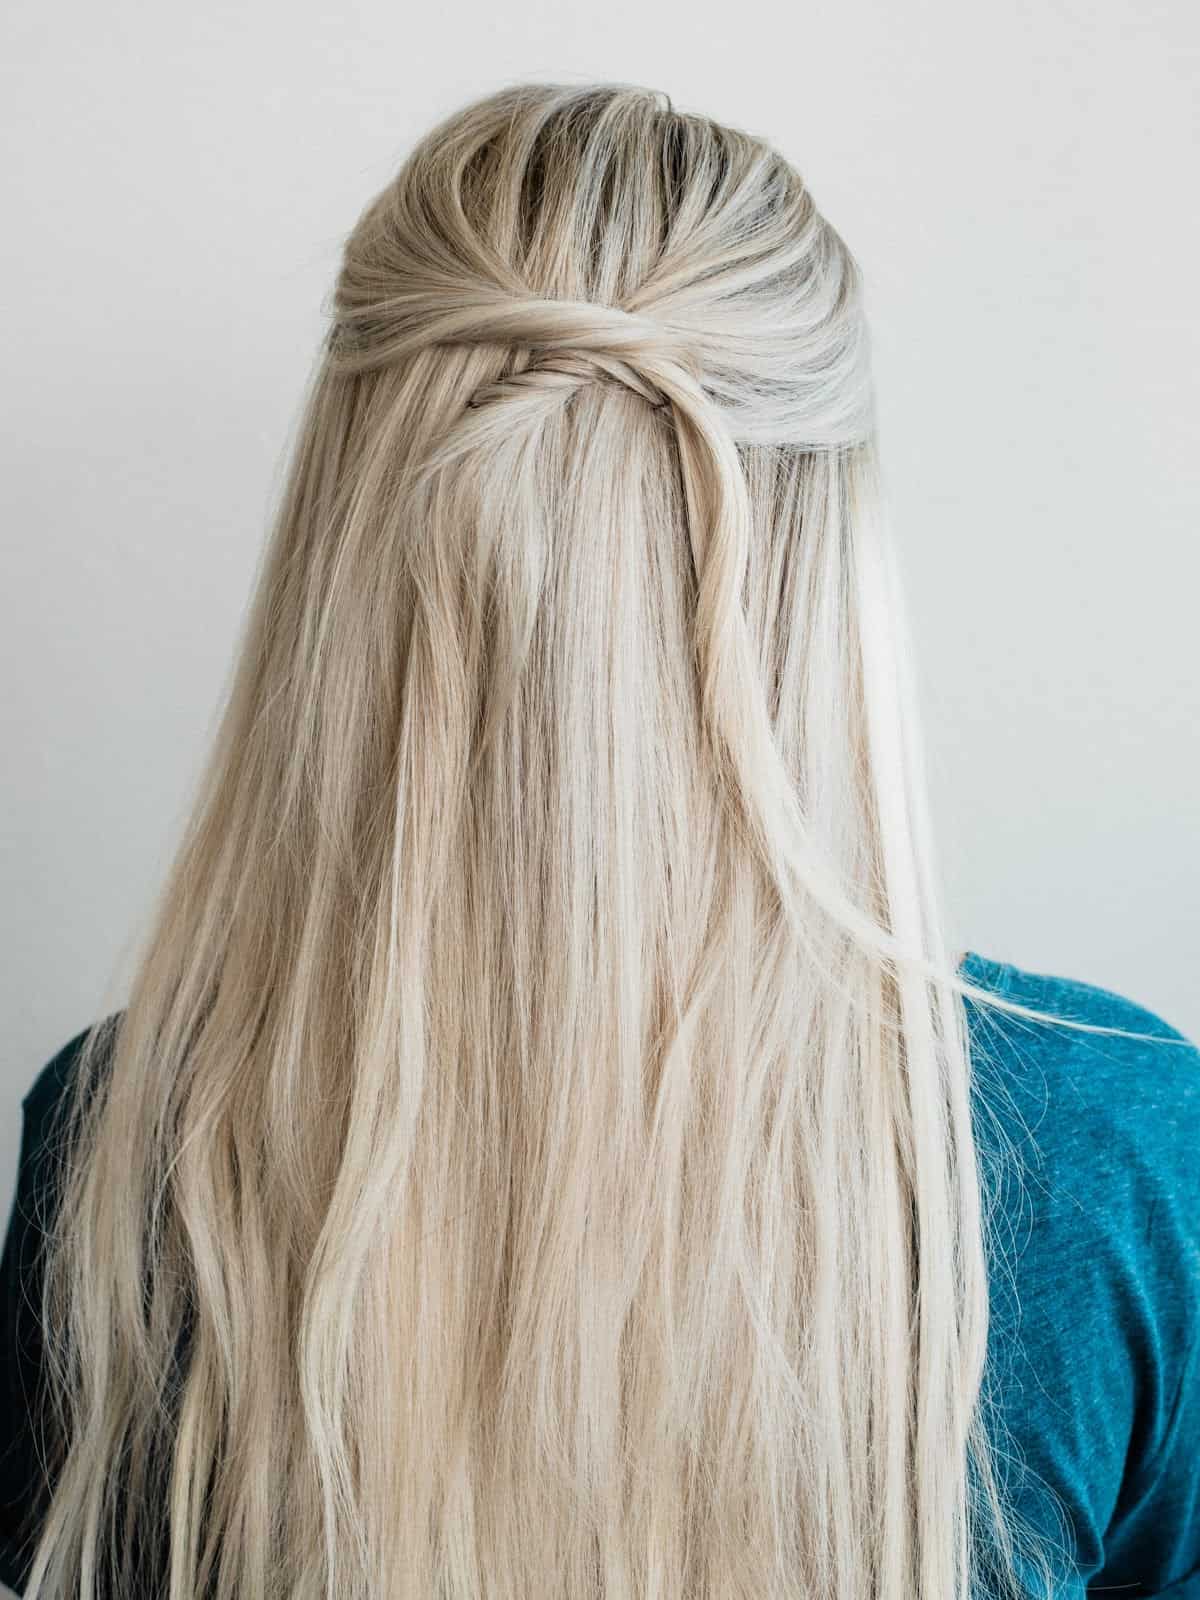
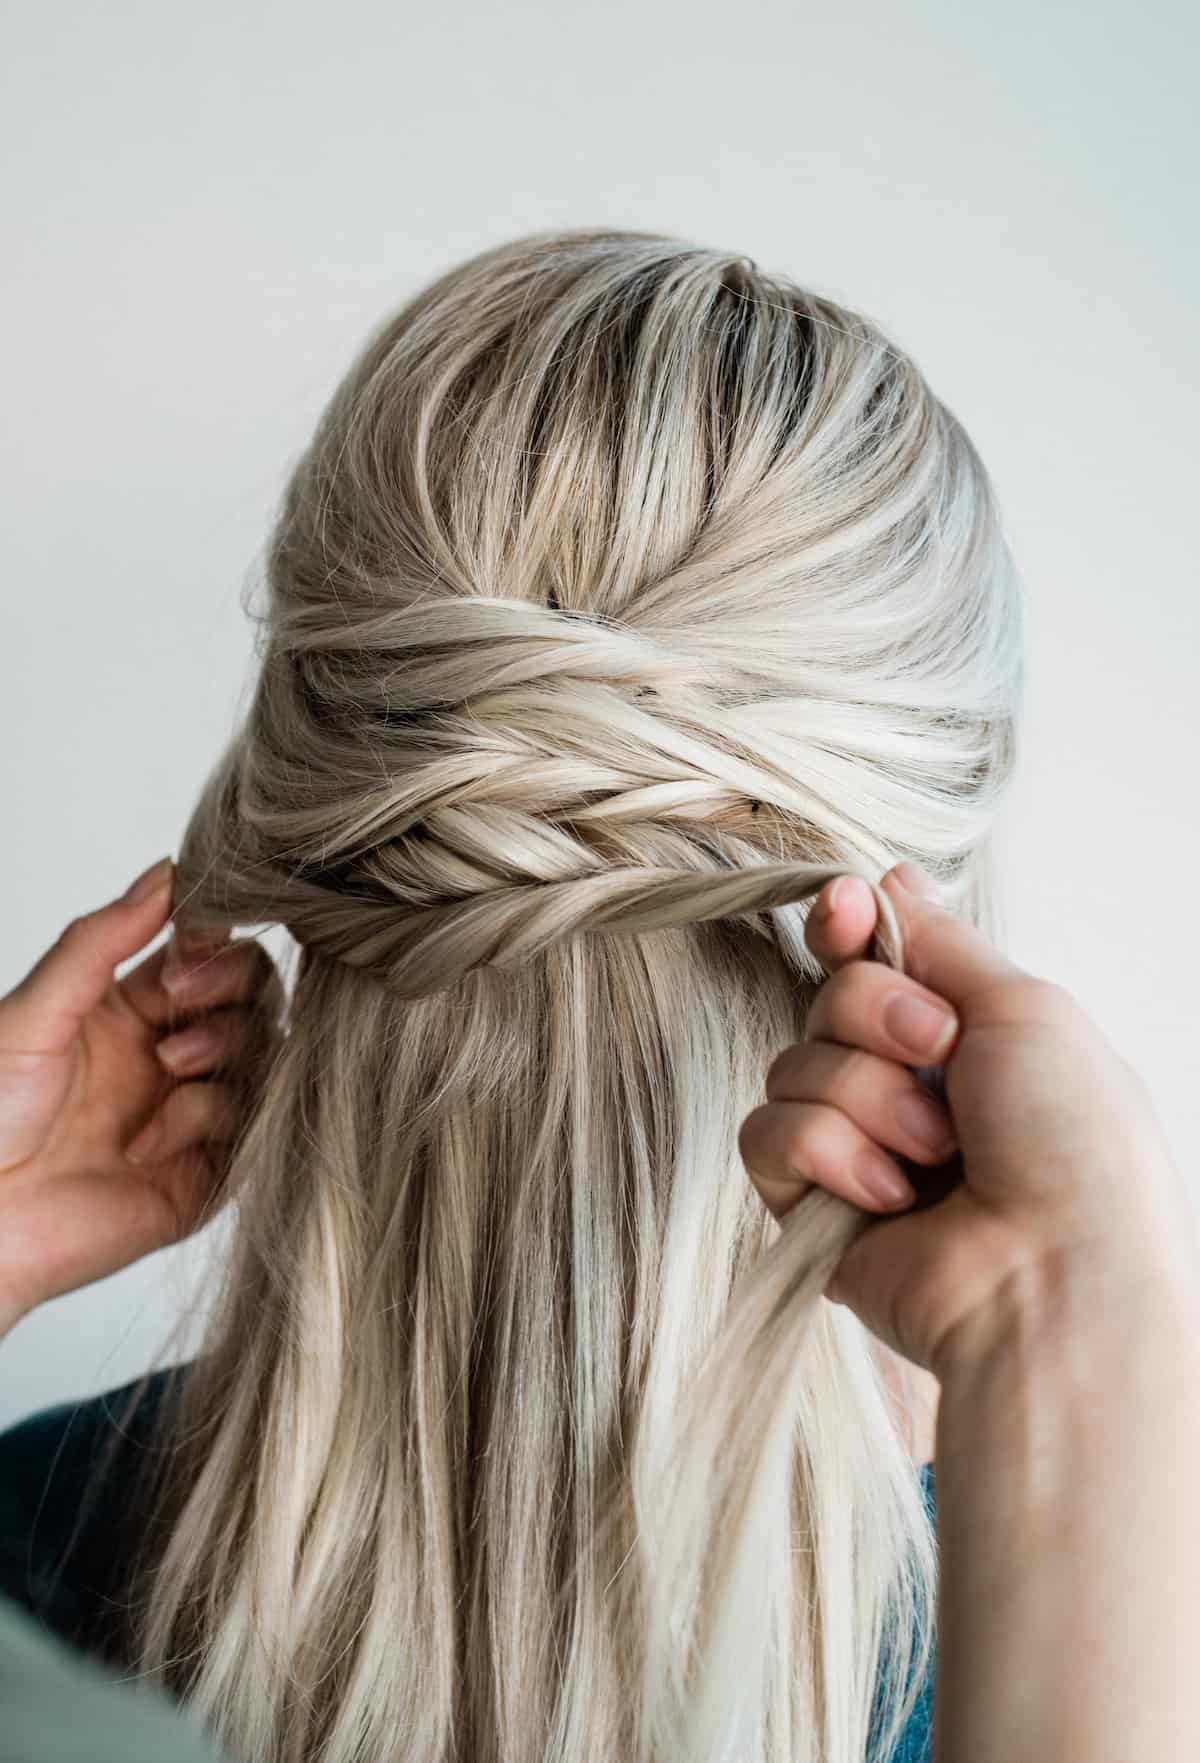
After your client’s hair is prepped and ready to go, separate and twist a small section from the front to the back middle of your clients head and bobby pin it in place. You may want to use several bobby pins on the top and bottom of the twist to be sure it stays in place, especially if your client has long hair.
Next, do the same thing to an equal section from the other side and pin it over the top of the first section.
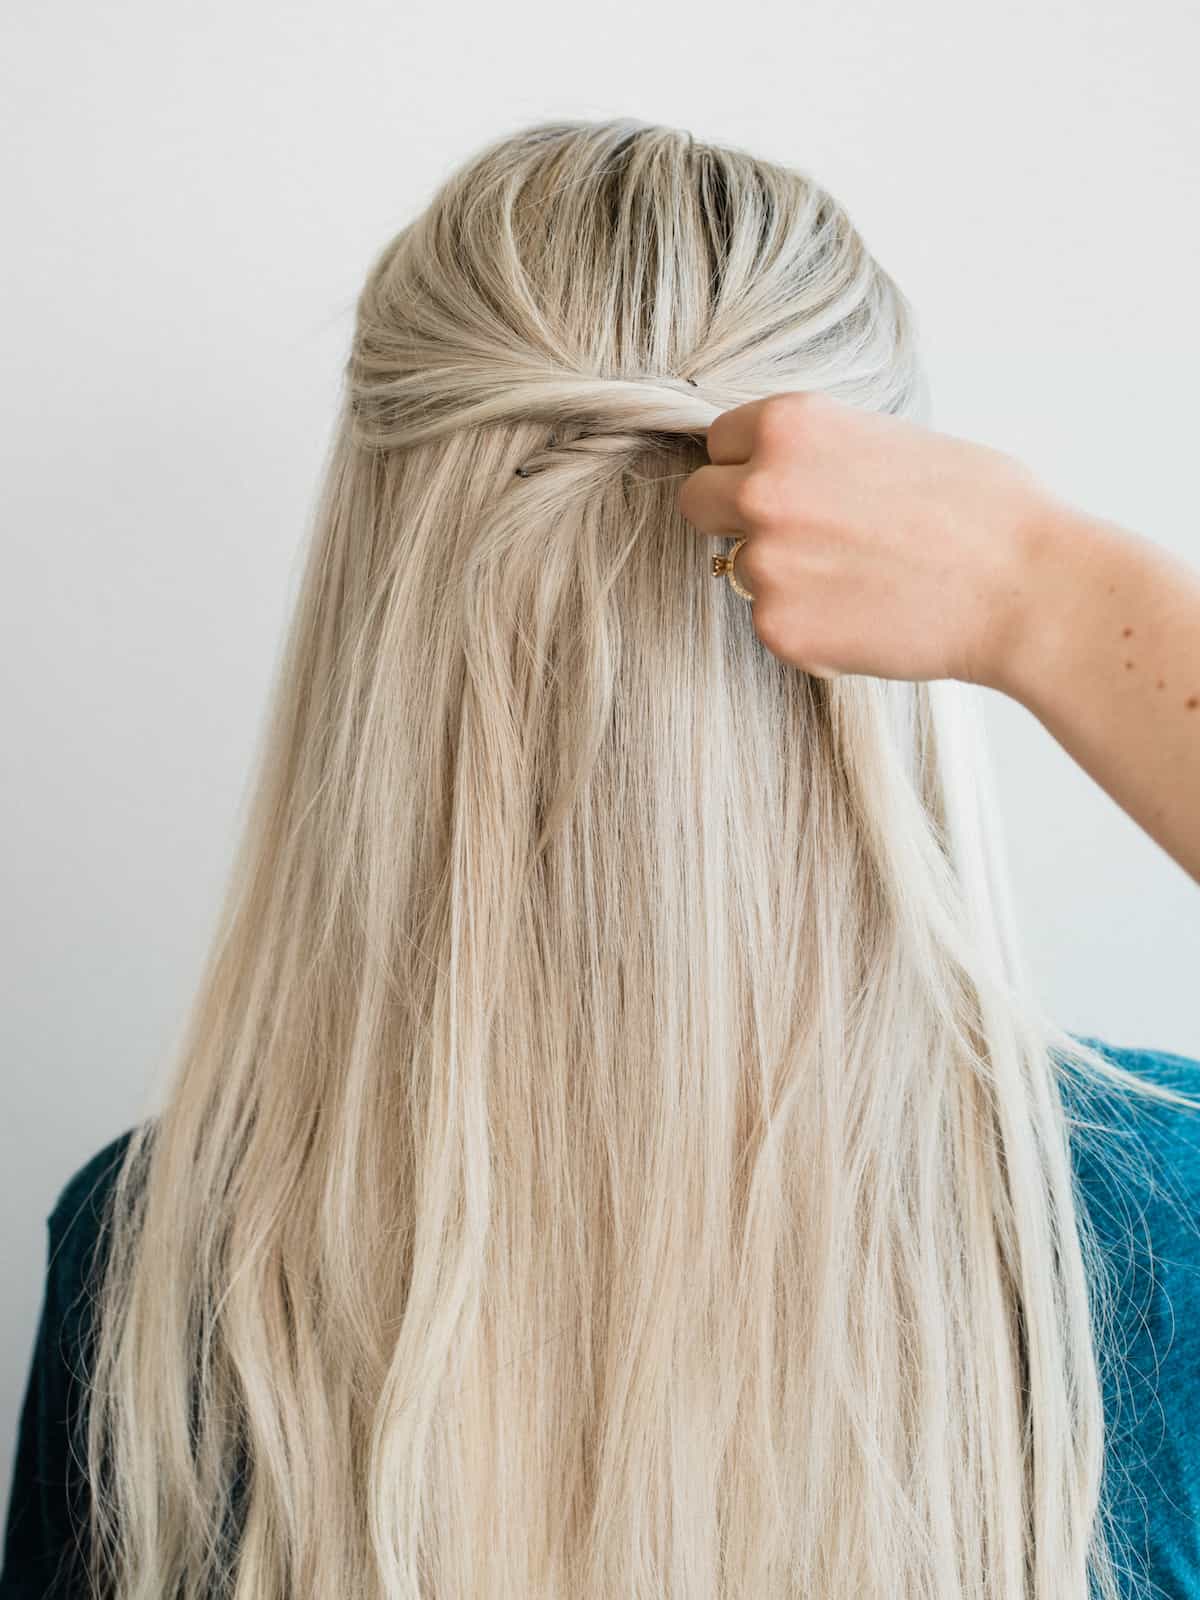
Continue this process; working your way down section by section.
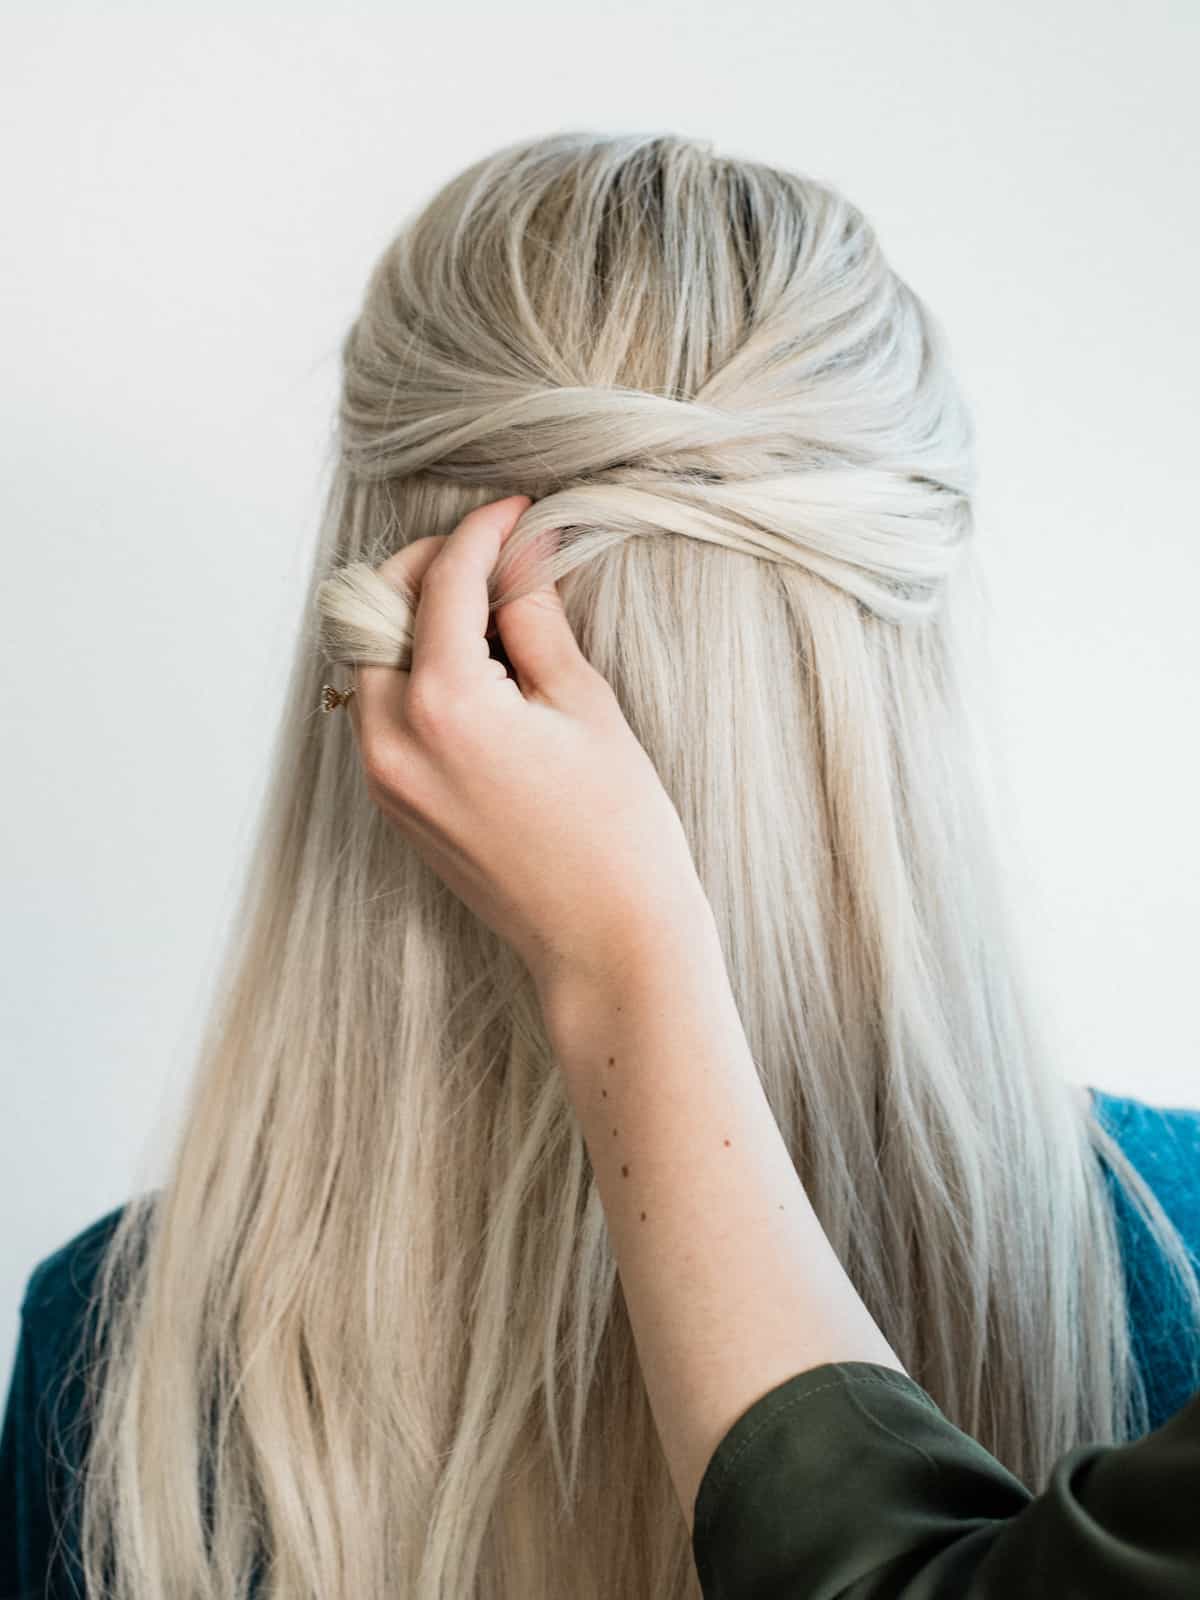
If your client would like a half-up style, you can stop at any point when you feel enough hair is up. Be sure to work with the hair to cover the bobby pins you’ve used.
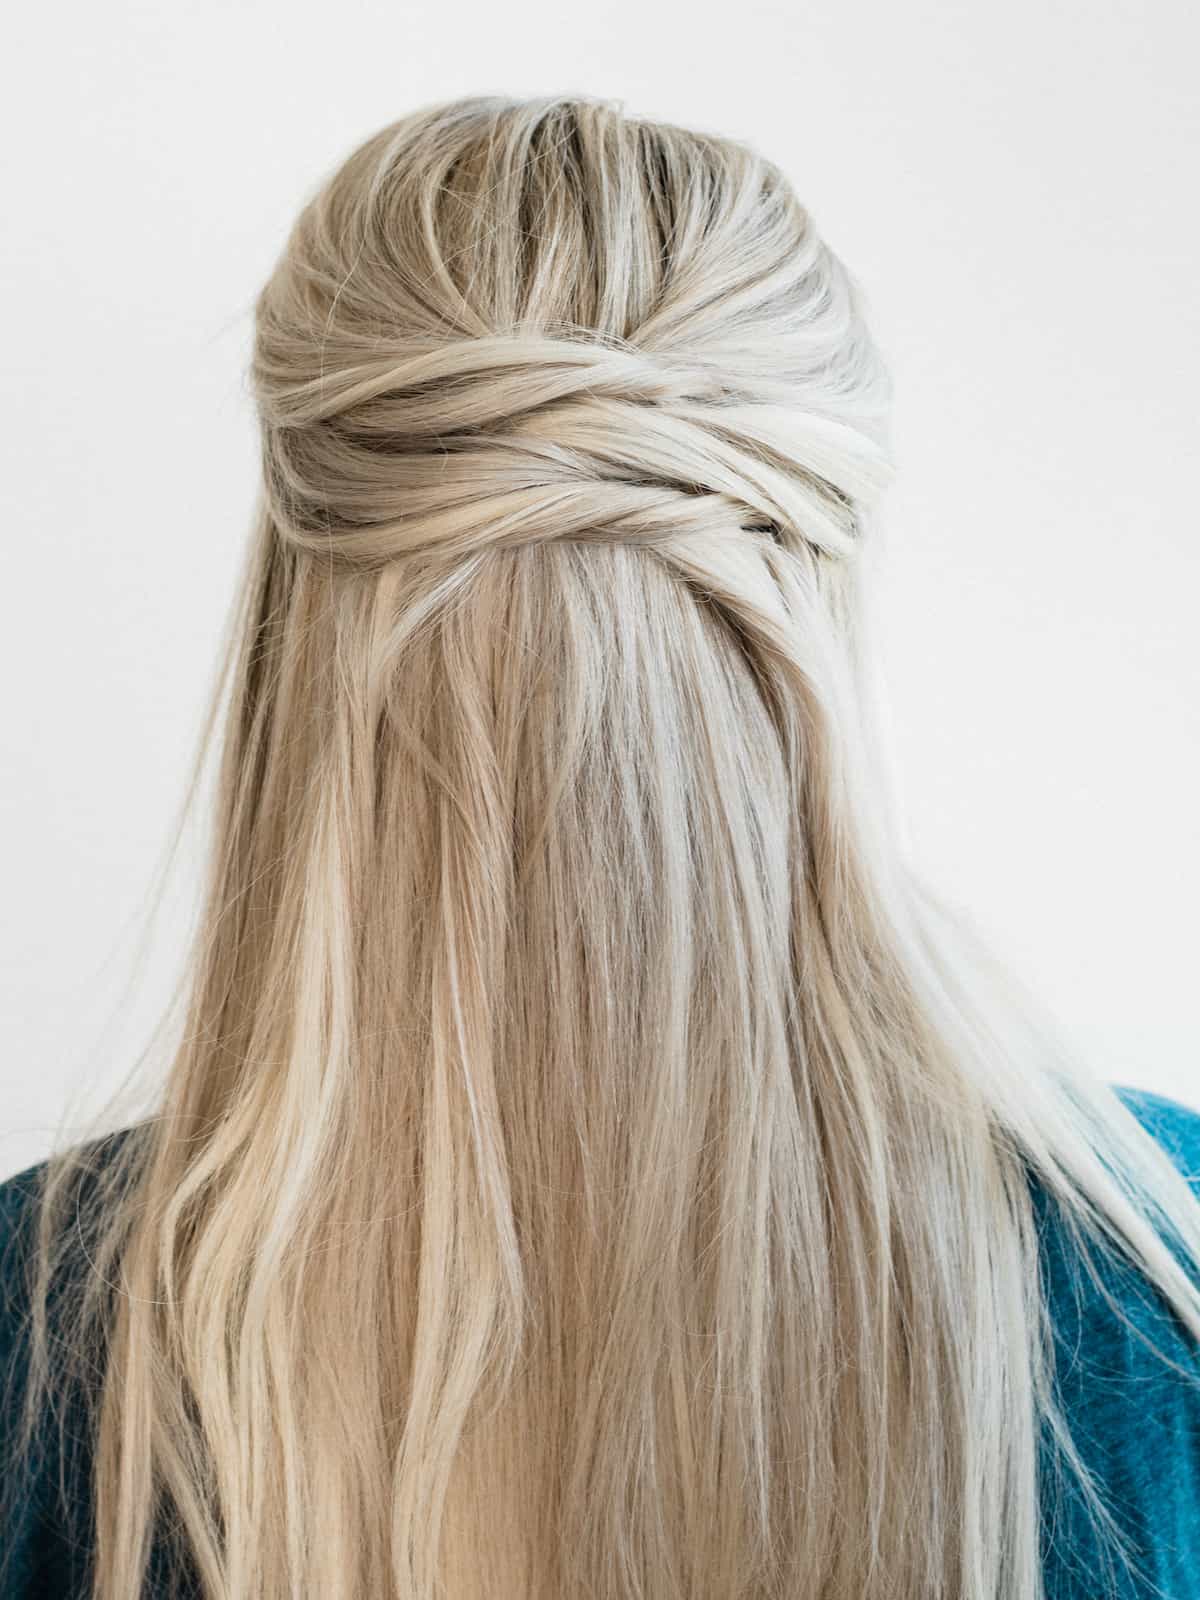
If your client would like a full updo, keep going section by section, taking larger sections toward the bottom of the scalp.
Tugging lightly toward the top of each twist can help you to get the hair to sit where you would like it, giving it that perfect look you’re going for.
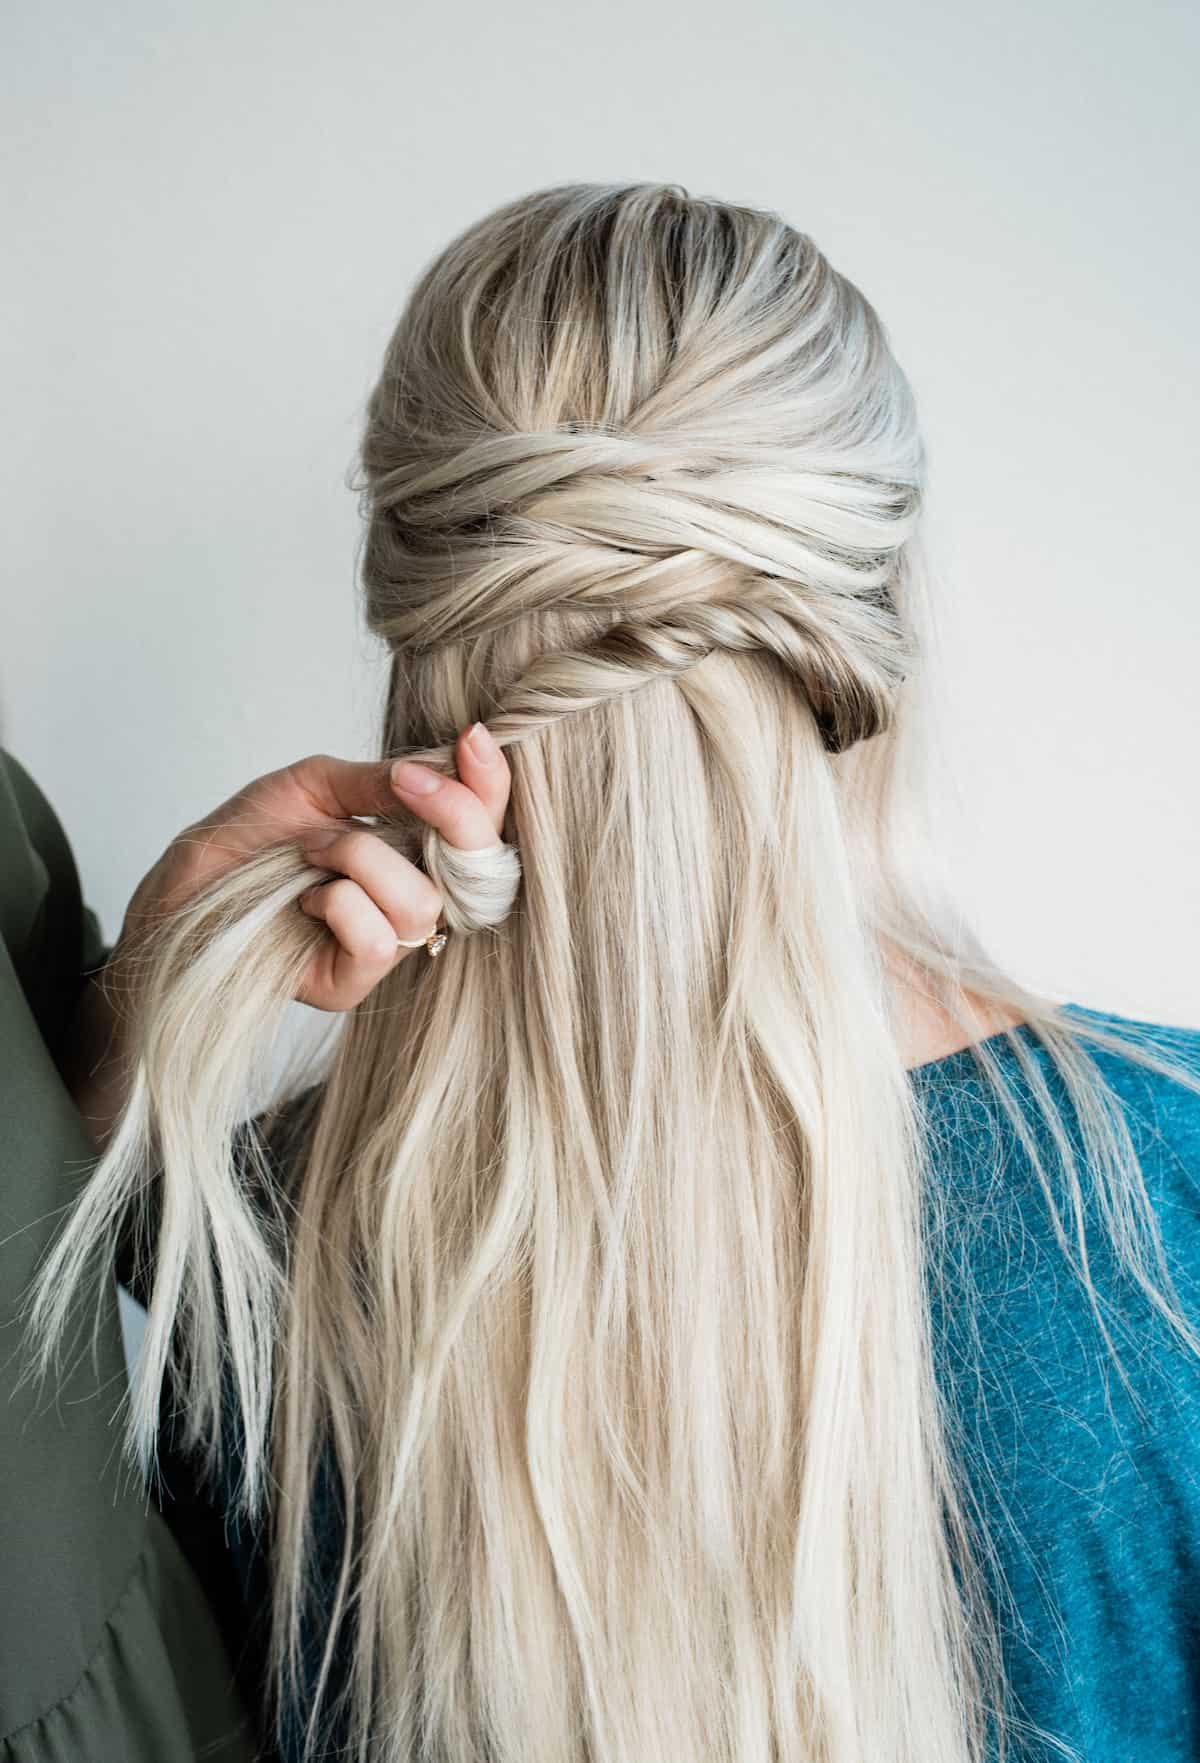
Once you’ve made your way toward the bottom of the scalp, take a larger section of hair (a third or a fourth of the hair, depending on how thick your clients hair is) and loop it toward the top, pinning it in place.
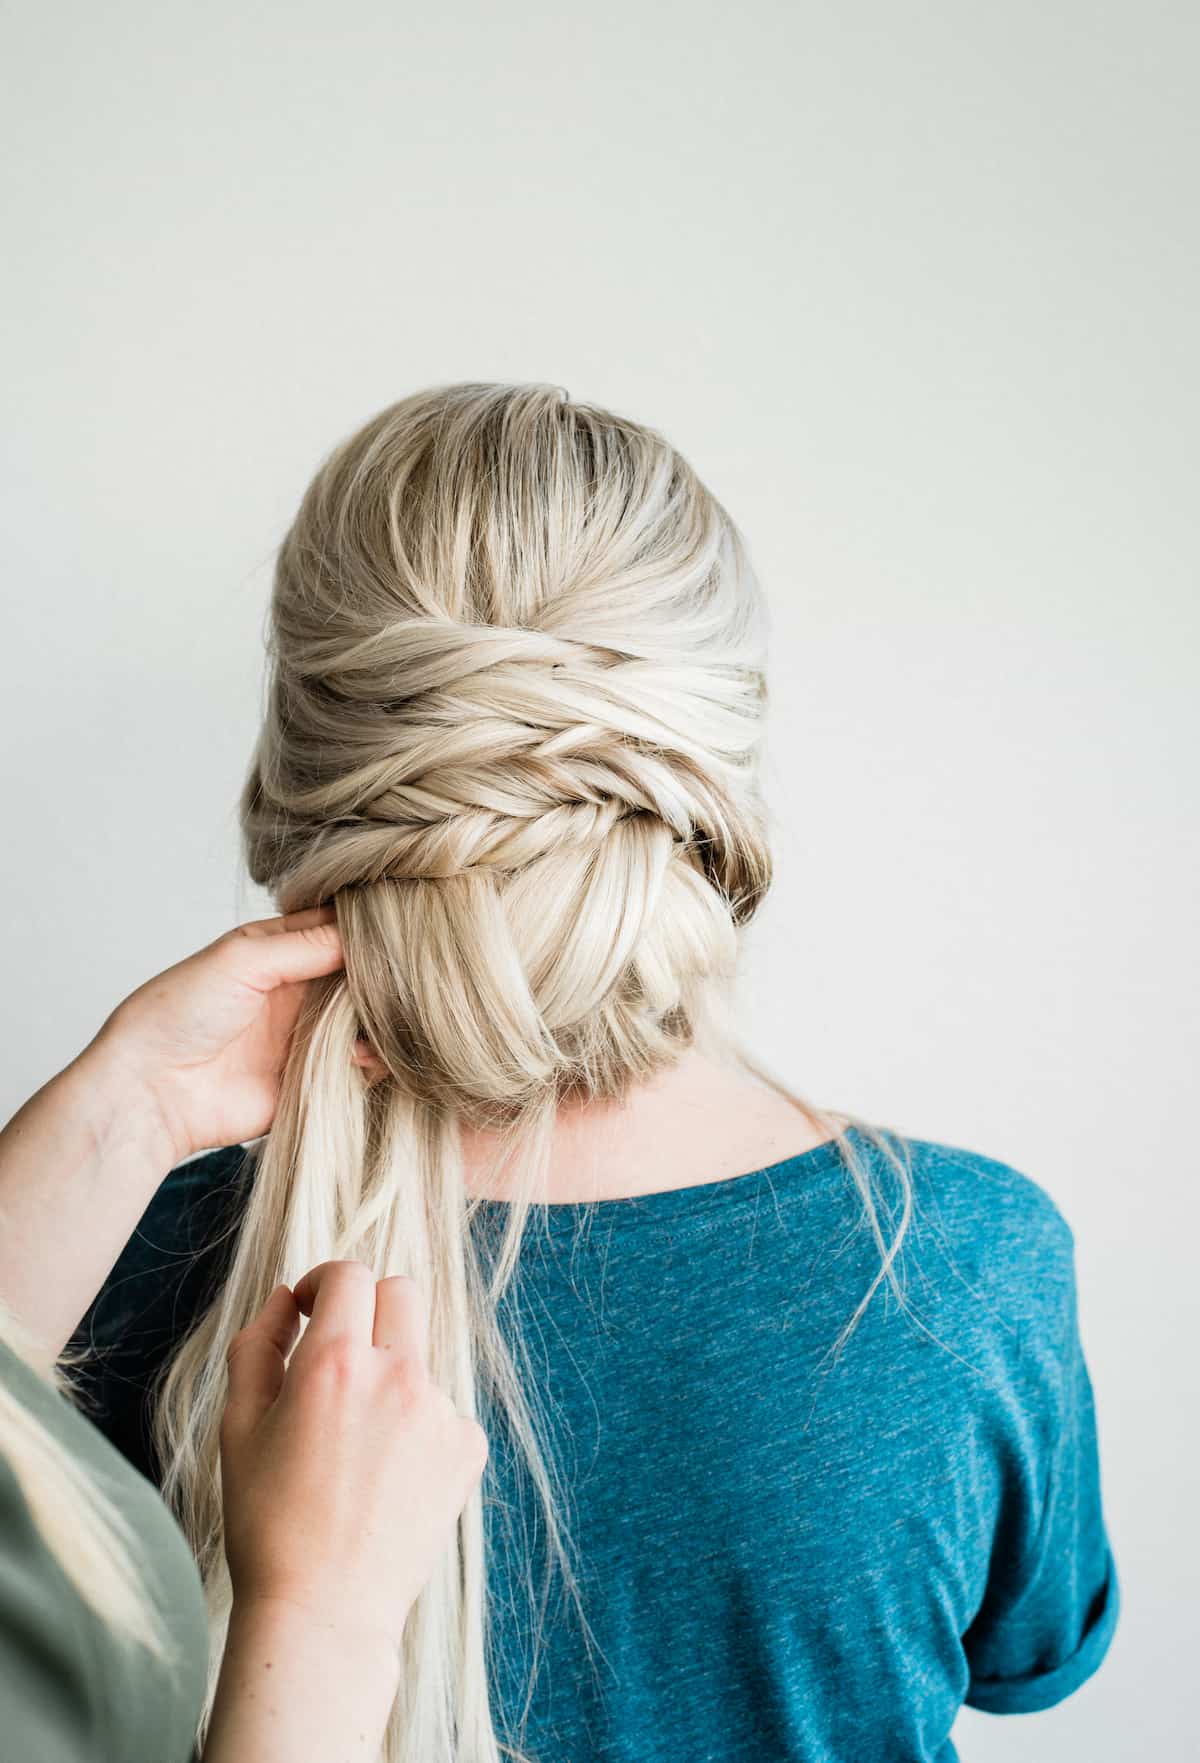
Continue doing this with several sections, working all of the hair into the loops.
After all of the hair has been looped into itself and pinned, use a curling or flat iron to add the finishing touches to the sections around the face.
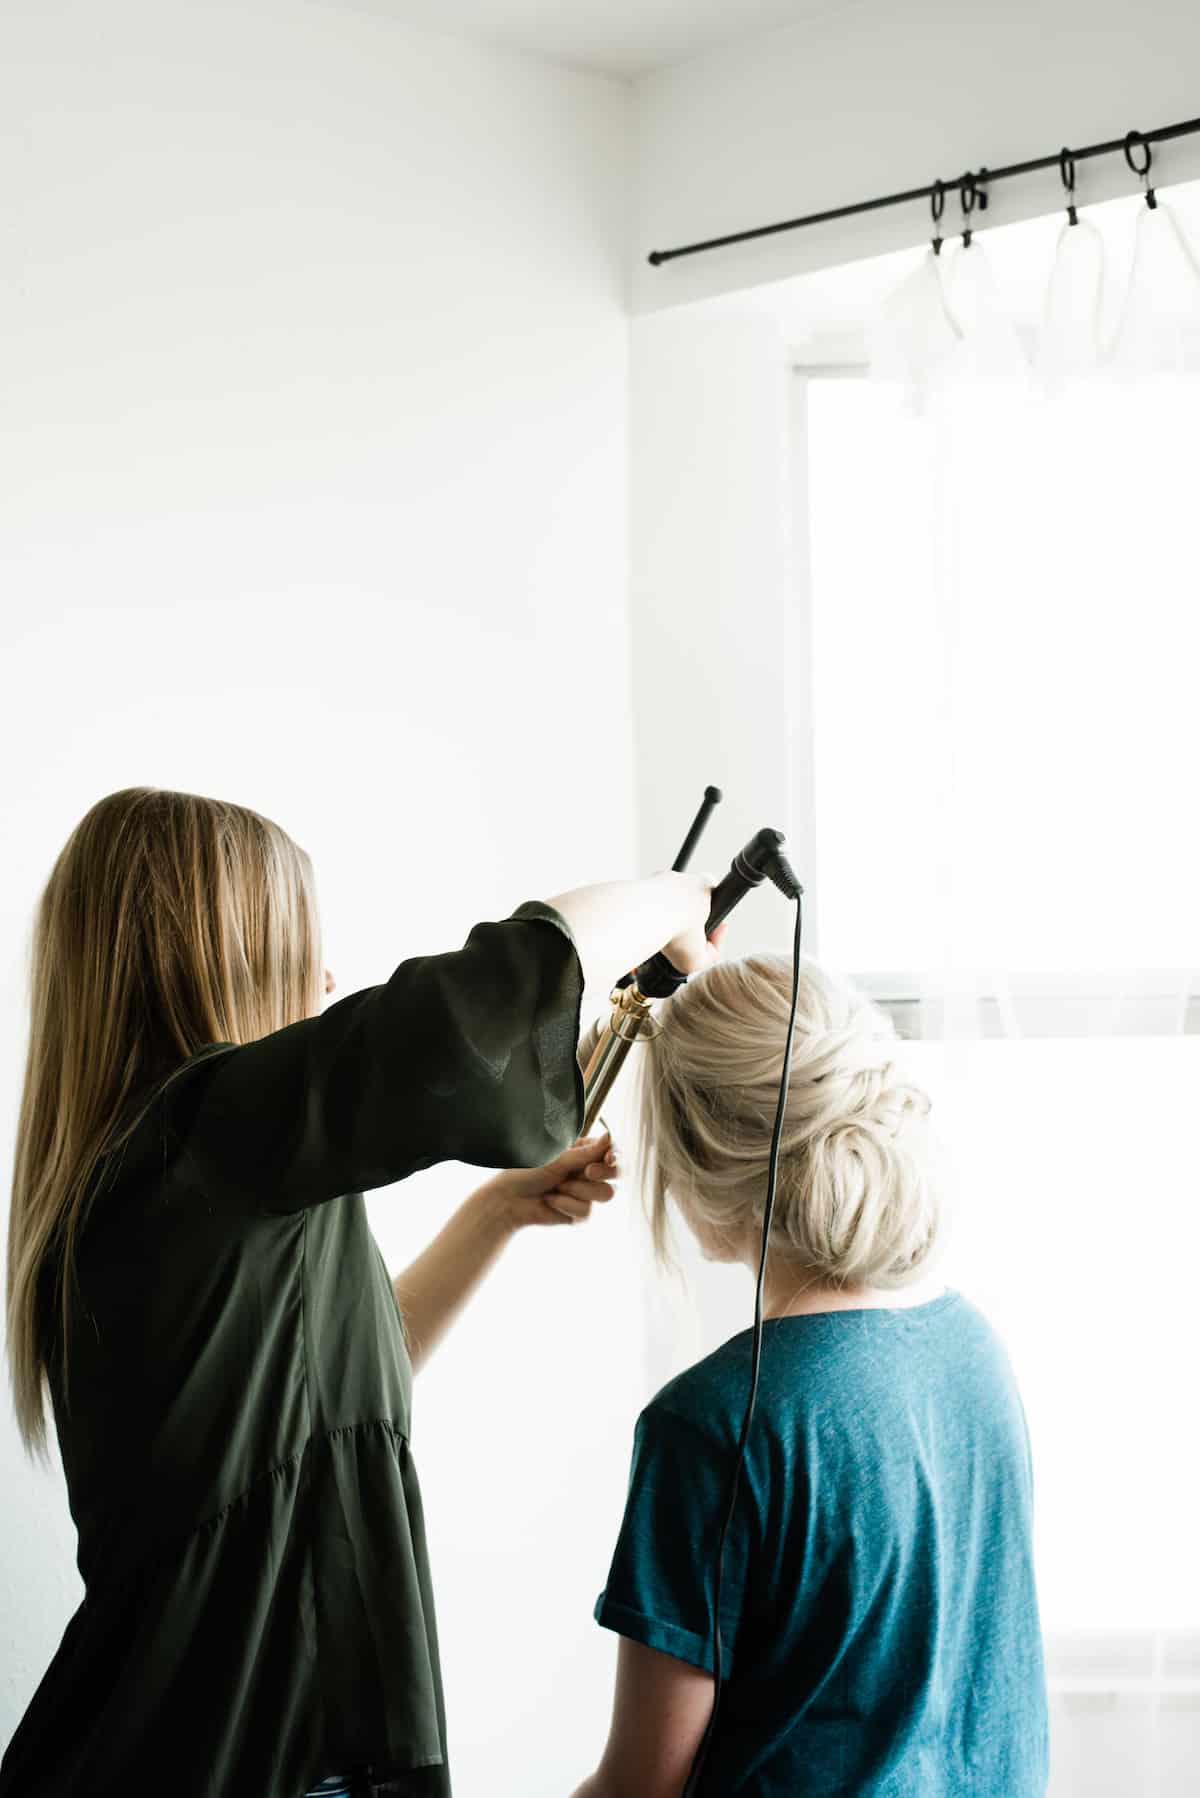
Can you say gorgeous?! This is such an elegant style for a summer wedding or any other event your client may be preparing for.

We would LOVE to see your work! If you’d like your business to be featured on our Facebook page, and you’re a wholesale customer of Hair Extension Tape or Walker Tape, tag us in your work on Facebook and we’ll share it to our page! We love seeing what our talented clients are up to.
If you’re not a wholesale customer, what are you waiting for? Get the best products in the industry at the best prices by signing up for FREE here.

The Walker Tape® Marketing Team consists of experienced employees with a wide knowledge of hair systems, tapes, liquid adhesives, hair extensions, and hair replacement products.
The team writes and publishes trusted blogs and other resources designed to help stylists, wearers, and distributors achieve better installs, longer hold times, and more confident results.